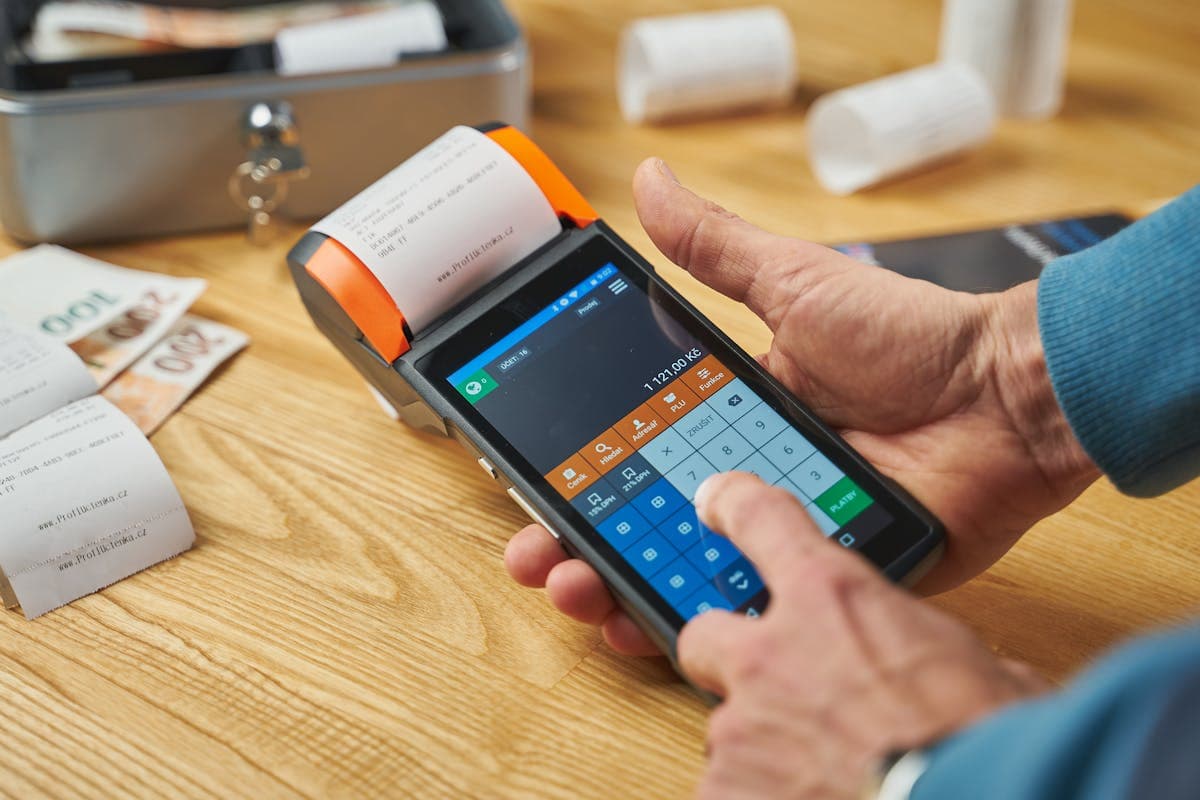
Why Your Business Needs to Issue Receipts
If you run a small business, freelance, or sell anything in person, you need to provide receipts. It is a legal requirement in most jurisdictions, and even where it is not legally mandated, receipts build trust with customers and keep your own financial records organized.
But creating receipts does not need to be complicated or expensive. You do not need point-of-sale software, accounting software subscriptions, or a thermal receipt printer. An online receipt generator creates clean, professional receipts in minutes. You fill in the details, download the PDF, and send it to your customer via email or print it on any regular printer.
The Receipt Generator handles this workflow without requiring an account or payment. Enter your business details, add line items, and download a formatted receipt. For businesses that issue receipts regularly, understanding what belongs on a receipt and how to organize them saves time and prevents problems at tax time.
What Every Receipt Must Include
While specific requirements vary by country and state, a complete business receipt generally includes:
Your business information: legal name, address, phone number, and tax identification number (EIN in the US, VAT number in the EU, ABN in Australia). This identifies who received the payment.
Customer information: for B2B transactions, include the customer's business name and address. For retail B2C transactions, customer information is optional.
Receipt number: a unique sequential number for tracking and reference. This is important for both your records and the customer's. If a customer questions a charge, the receipt number lets you look it up quickly.
Date and time: when the transaction occurred. For tax purposes, the date determines which fiscal period the income falls into.
Line items: description, quantity, unit price, and total for each item or service. Vague descriptions like "services" cause problems during audits. Be specific: "Website redesign - homepage" is better than "design services."
Subtotal, tax, and total: show the calculation clearly. If tax rates differ for different items, show each tax rate separately. The total should be the final amount the customer paid.
Payment method: cash, credit card (last four digits only), bank transfer, or other method. This helps with reconciliation and provides a record in case of disputes.
Return/refund policy: if applicable, a brief statement about your return policy. This sets expectations and provides legal protection.
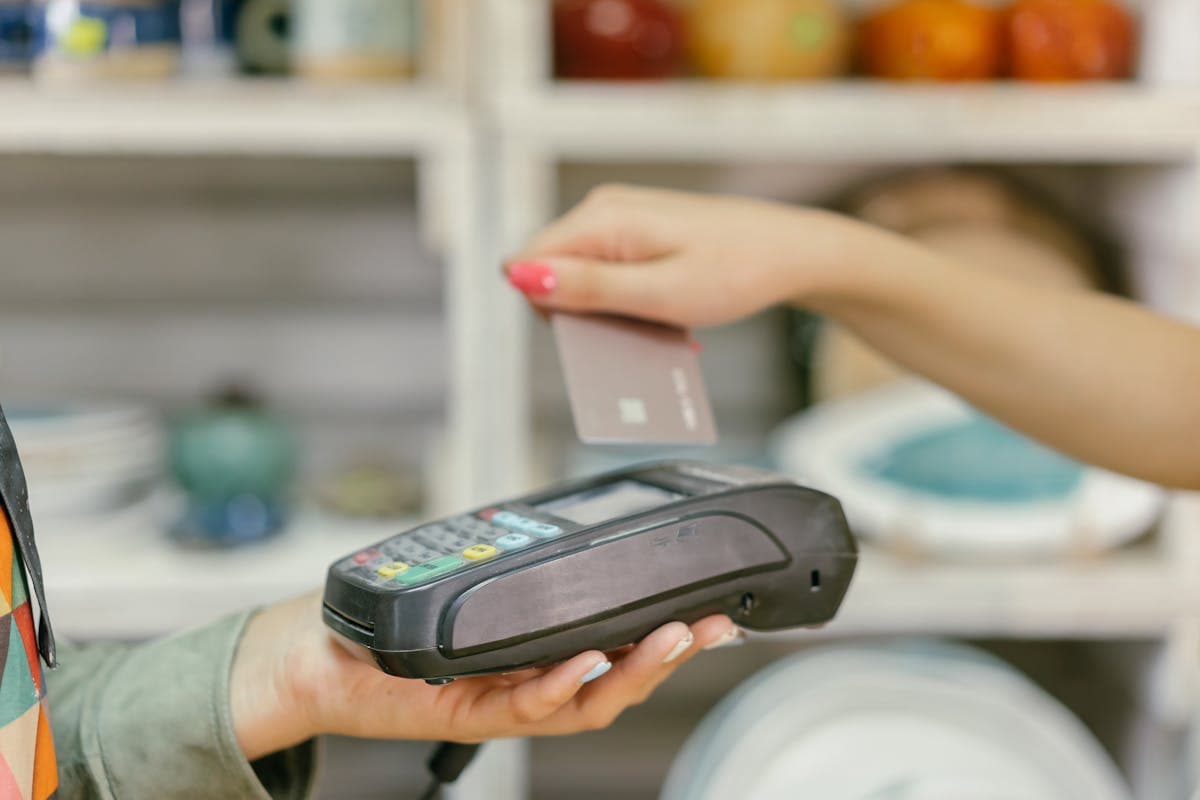
Receipt vs Invoice: When to Use Which
Receipts and invoices serve different purposes, and confusing them causes bookkeeping headaches.
An invoice is a request for payment. You send it before or at the time of delivery, and it says "you owe me this amount." Invoices include payment terms (Net 30, due on receipt) and payment instructions.
A receipt is proof of payment. You issue it after the customer has paid, and it says "you paid this amount." Receipts confirm that the transaction is complete.
The workflow is: deliver goods/services, send invoice, receive payment, issue receipt. For immediate transactions (retail, food service, in-person services), the invoice and receipt effectively merge into one document because payment happens at the point of sale.
For freelancers and service businesses, the distinction matters for accounting. Unpaid invoices are accounts receivable (money owed to you). Receipts document completed revenue (money received). Mixing them up makes your books inaccurate.
The Invoice Generator creates invoices for billing clients. The Receipt Generator creates receipts after payment is received. Use the right one for the right stage of the transaction.
If you issue both invoices and receipts regularly, merge your monthly receipts into a single PDF using the PDF Merge tool for easier archiving and sharing with your accountant.
Receipts and invoices serve different purposes, and confusing them causes bookkeeping headaches.
Digital vs Paper Receipts: What Works Best
Digital receipts (PDF via email or messaging app) are replacing paper receipts for good reasons:
For the business: no printer supplies, no thermal paper rolls, easy to search and organize, automatic backup, no physical storage needed. Digital receipts are also easier to template and send in bulk.
For the customer: no fading paper receipts (thermal paper becomes unreadable within months), easy to search email for past purchases, no paper to lose or organize.
For the environment: no paper waste. Thermal receipt paper is coated with BPA or BPS and is not recyclable.
The main situations where paper receipts are still expected: retail stores (though many now offer email receipts), farmers markets, cash transactions where the customer does not have email available, and situations where the customer needs an immediate physical proof of purchase.
A practical hybrid approach: generate the receipt digitally, offer to email it to the customer, and print it only if they request a paper copy. Most customers prefer the email option, especially for expense reporting.
For digital receipts, PDF is the standard format. It is universally readable, cannot be easily altered (important for tax documentation), and prints cleanly when a paper copy is needed. The receipt generators on ToolForte output PDF by default.
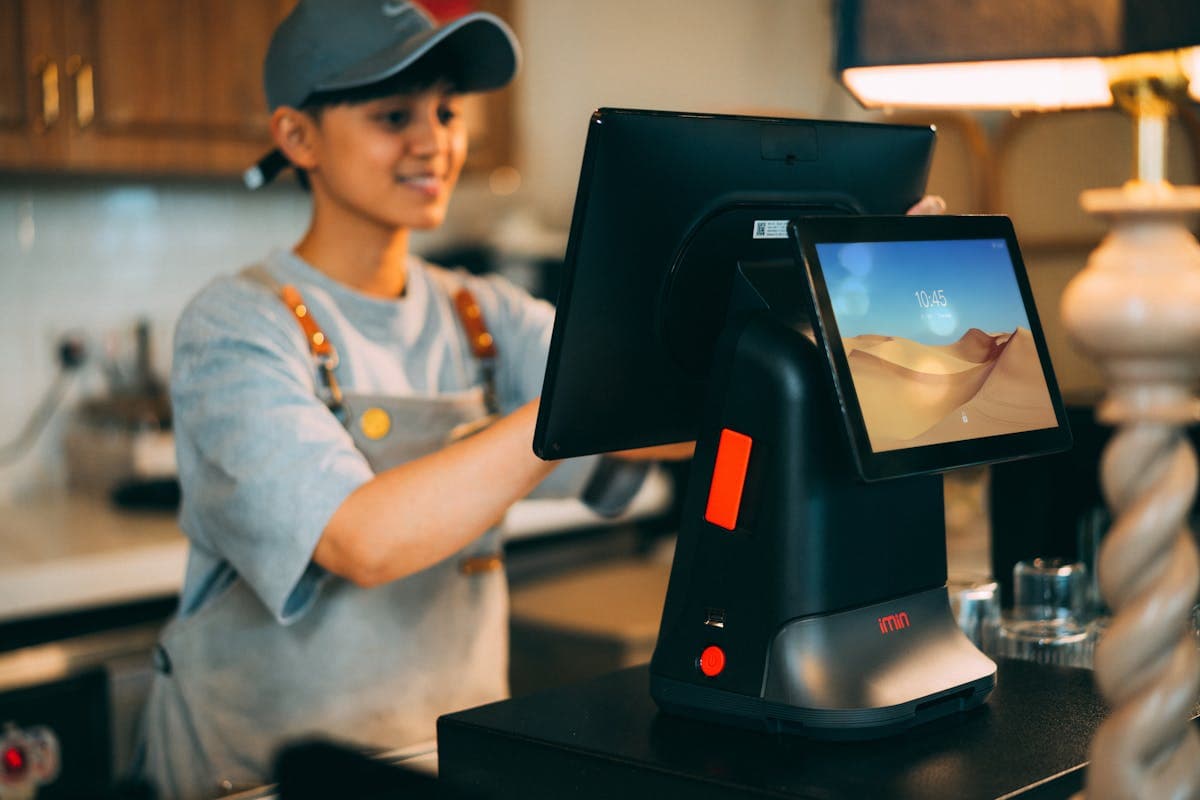
Organizing Receipts for Tax Season
The receipt generation is the easy part. The hard part is organizing months of receipts so your accountant (or you, if you do your own taxes) can find what they need without spending hours digging.
Name files consistently. Use a format like YYYY-MM-DD_vendor_amount.pdf. For example: 2026-04-15_office-depot_127.50.pdf. This sorts chronologically and is searchable by vendor or amount.
Separate income and expense receipts. Income receipts (payments you received from customers) and expense receipts (purchases you made for the business) serve different purposes in your tax return. Keep them in separate folders.
Categorize expenses. Your tax return groups expenses into categories: office supplies, software subscriptions, travel, meals, professional services, etc. If you categorize as you go, tax preparation takes hours instead of days.
Back up everything. Cloud storage (Google Drive, Dropbox, iCloud) ensures you do not lose receipts to a hard drive failure. Tax authorities can request documentation for 3-7 years depending on jurisdiction.
Scan paper receipts immediately. If you receive a paper receipt, photograph or scan it within 24 hours. Thermal paper receipts fade within months, and a faded receipt is useless for tax purposes.
Monthly reconciliation. Once a month, compare your receipts against your bank statements. Every transaction should have a corresponding receipt. Missing receipts are easier to track down after one month than after twelve.
The receipt generation is the easy part.
Adding QR Codes and Branding to Receipts
A receipt does not have to be a plain text document. Adding professional touches increases customer trust and brand recognition.
Your logo at the top of the receipt makes it immediately recognizable. Most receipt generators let you upload a logo. Keep it small (100-200px wide) to avoid dominating the receipt.
QR codes can link to your website, a feedback form, a loyalty program, or a digital copy of the receipt. The QR Code Generator creates codes that you can add to your receipt template. A QR code linking to a feedback form is an effective way to collect customer reviews.
Thank you message at the bottom. A brief, genuine note ("Thank you for your purchase. We appreciate your business.") adds a personal touch. Some businesses include a discount code for the next purchase.
Social media handles if you want customers to follow you. Keep it subtle. One line with your Instagram or website URL is enough.
Consistent colors and fonts that match your brand. If your business uses specific colors, apply them to the receipt header and accents. This is especially effective for digital receipts where color printing costs are zero.
Do not overdo the branding. A receipt is primarily a financial document. The essential information (items, amounts, dates, tax) should be the dominant content. Branding is supplementary.
FAQ
Is it legal to create receipts with an online generator?
Yes. There is no legal requirement about which tool you use to create receipts. What matters is that the receipt contains all legally required information (business details, transaction details, tax amounts) and accurately reflects the transaction. Whether you write it by hand, generate it online, or print it from POS software is your choice.
How long should I keep receipts for tax purposes?
In most jurisdictions, 3-7 years from the date of the tax return. In the US, the IRS generally requires 3 years but can extend to 6 years in cases of significant underreporting. In the EU, VAT records must be kept for 7-10 years depending on the country. When in doubt, keep them for 7 years.
Can I issue a receipt for a cash transaction?
Yes, and you should. Cash transactions without receipts are harder to document for tax purposes and harder to resolve in case of disputes. Issue a receipt for every transaction regardless of payment method. Note "Cash" as the payment method on the receipt.
What is the difference between a receipt and a proof of purchase?
A receipt is one form of proof of purchase, but not the only one. Bank statements, credit card statements, canceled checks, and written confirmation emails can also serve as proof of purchase. However, a receipt is the most complete form because it includes itemized details that bank statements do not.
### Is it legal to create receipts with an online generator.
Meeting Cost Calculator: What Your Meetings Really Cost
A recurring meeting can burn thousands per year in salary time. Learn how to price meetings, spot the expensive ones, and cut waste with a free calculator.
QR Code Maken: Gratis Gids voor Elke Toepassing
Maak gratis QR codes voor je bedrijf, visitekaartjes, WiFi en marketingcampagnes. Met tips voor design, de juiste formaten en het meten van scans.
Build a Faster Workflow Using Only Browser Tools
Five step-by-step browser workflows for image optimization, SEO checks, PDF processing, and invoicing. No installs, no uploads, no app switching.